Stop Messing Up Your Photos With This Camera Setting
It can be easy to blindly trust the image on the back of your camera, thinking all of your shots are perfectly exposed, only to get home and find out you've got clipped highlights and unrecoverable details in the shadows. This might have happened because you were using the wrong metering mode. So, in this article, I'm going to show you how to use each metering mode and when to use them so you get the perfect exposure in every single shot.
Part 1: Your Camera's Light Meter, A Quick Refresher
If you're not already familiar with your light meter, let's have a quick refresher. Your light meter is like your exposure compass guiding you in the right direction for the right exposure with zero being the target perfect exposure. When it's pointing to the left, your image is underexposed. But it can also point too far to the right, meaning the image is overexposed.
Your camera's light meter only measures light. So it doesn't take any colour into account. And camera brands use this ideal brightness of being 18% grey to measure the perfect level of ideal brightness. So your camera's light meter is always trying to guide you towards this perfect level of 18% grey as the ideal brightness being zero in the centre of your light meter.

When we're controlling our exposure in automatic mode, we're actually setting the light meter to where we want it to expose for. And actually, the camera takes care of changing our settings to be able to meet this target exposure. Whereas, when we're in manual exposure, this is actually acting much more like a compass trying to guide you from one end of the light meter to the other.
Part 2: The Main Metering Modes Explained
Let's kick off our metering modes with the usual suspect. I'm obviously talking about evaluative metering. This is often the default setting on any camera for exposing the entire frame. Evaluative metering actually takes into consideration the overall brightness of different parts of the image, the brightness of the subject, the brightness of the sky, and tries to make the best judgment to keep everything more evenly exposed.

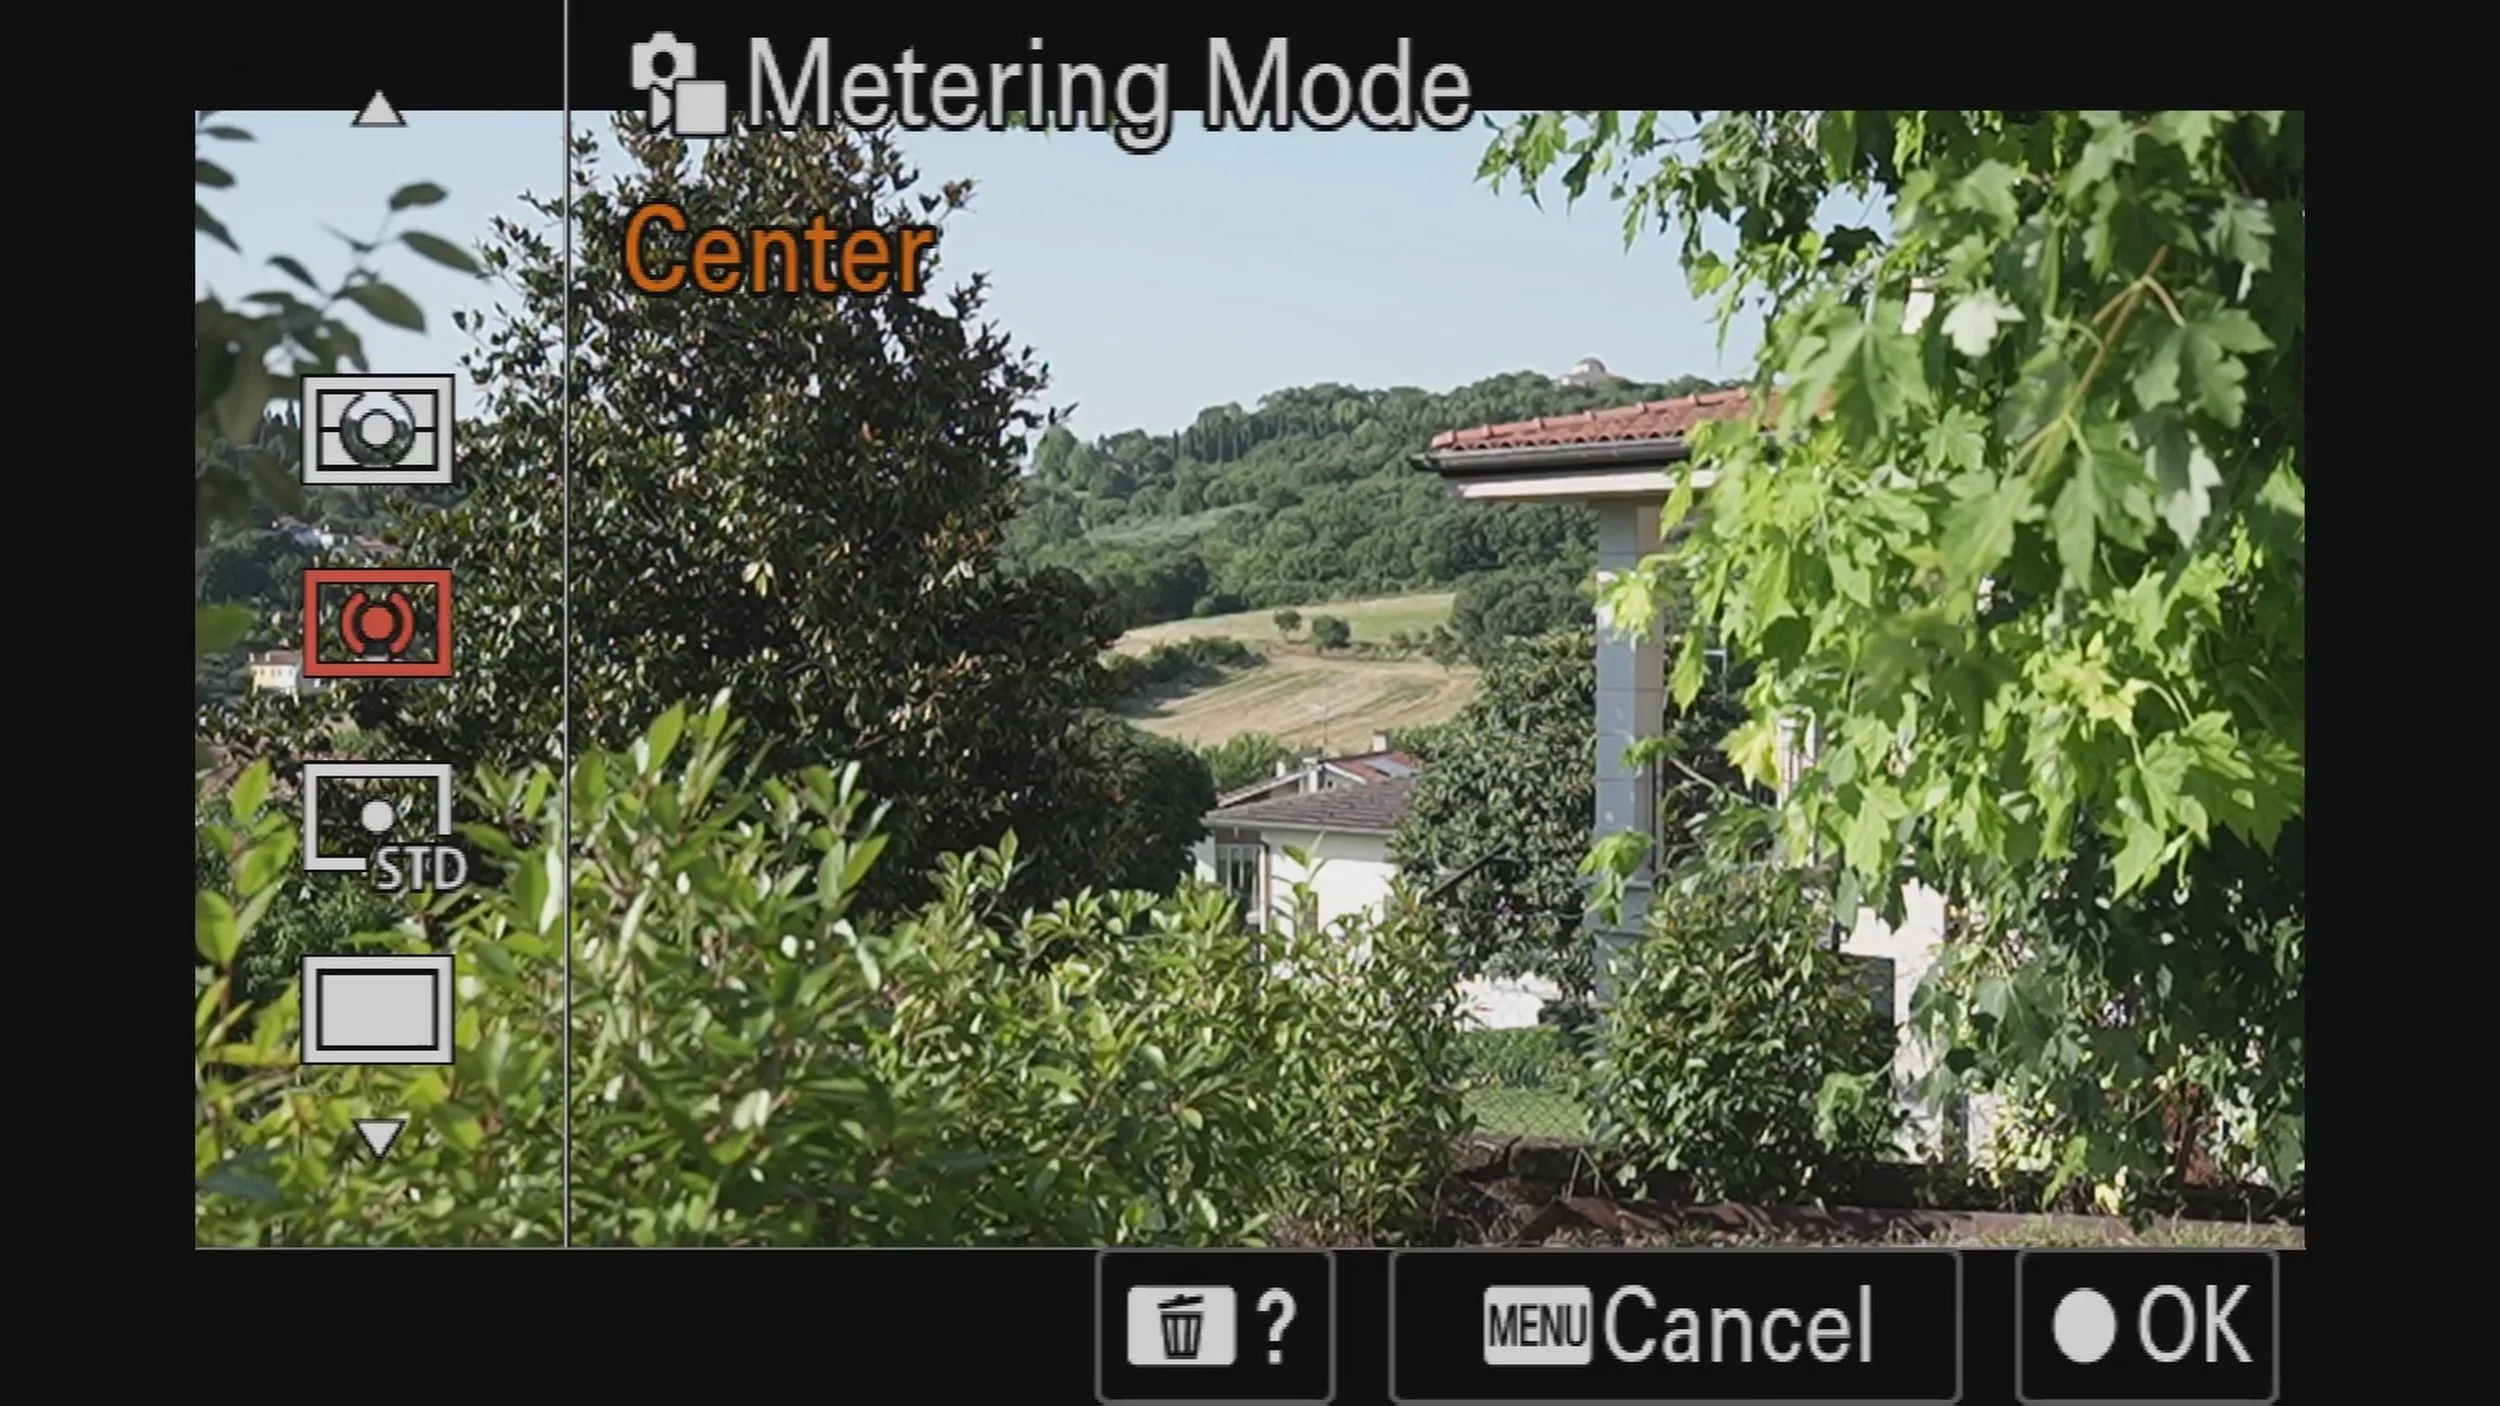
Center weighted metering actually focuses on the center of the frame, as the name might suggest. And this is actually very useful when you are exposing for one central subject and you want to prioritize them over anything else in the background that might have brightness changing quite often.
Then we have spot metering. And spot metering also measures a much smaller part of the frame similar to center weighted metering. But actually this is a spot that you can set yourself or it may actually follow around your autofocus point. And this can be especially useful if you are focusing on a fastm moving subject that has more complex exposure characteristics.


Part 3: When and How to Use Each Mode
Depending on your subject characteristics, you may find that one metering mode will work better than another. On a grey day, for example, with a subject in monochromatic clothing, the light isn't going to be changing that much. So, you can go for spot metering. Whereas brightly dressed groups of subjects on a bright light day may be best suited to evaluative metering.
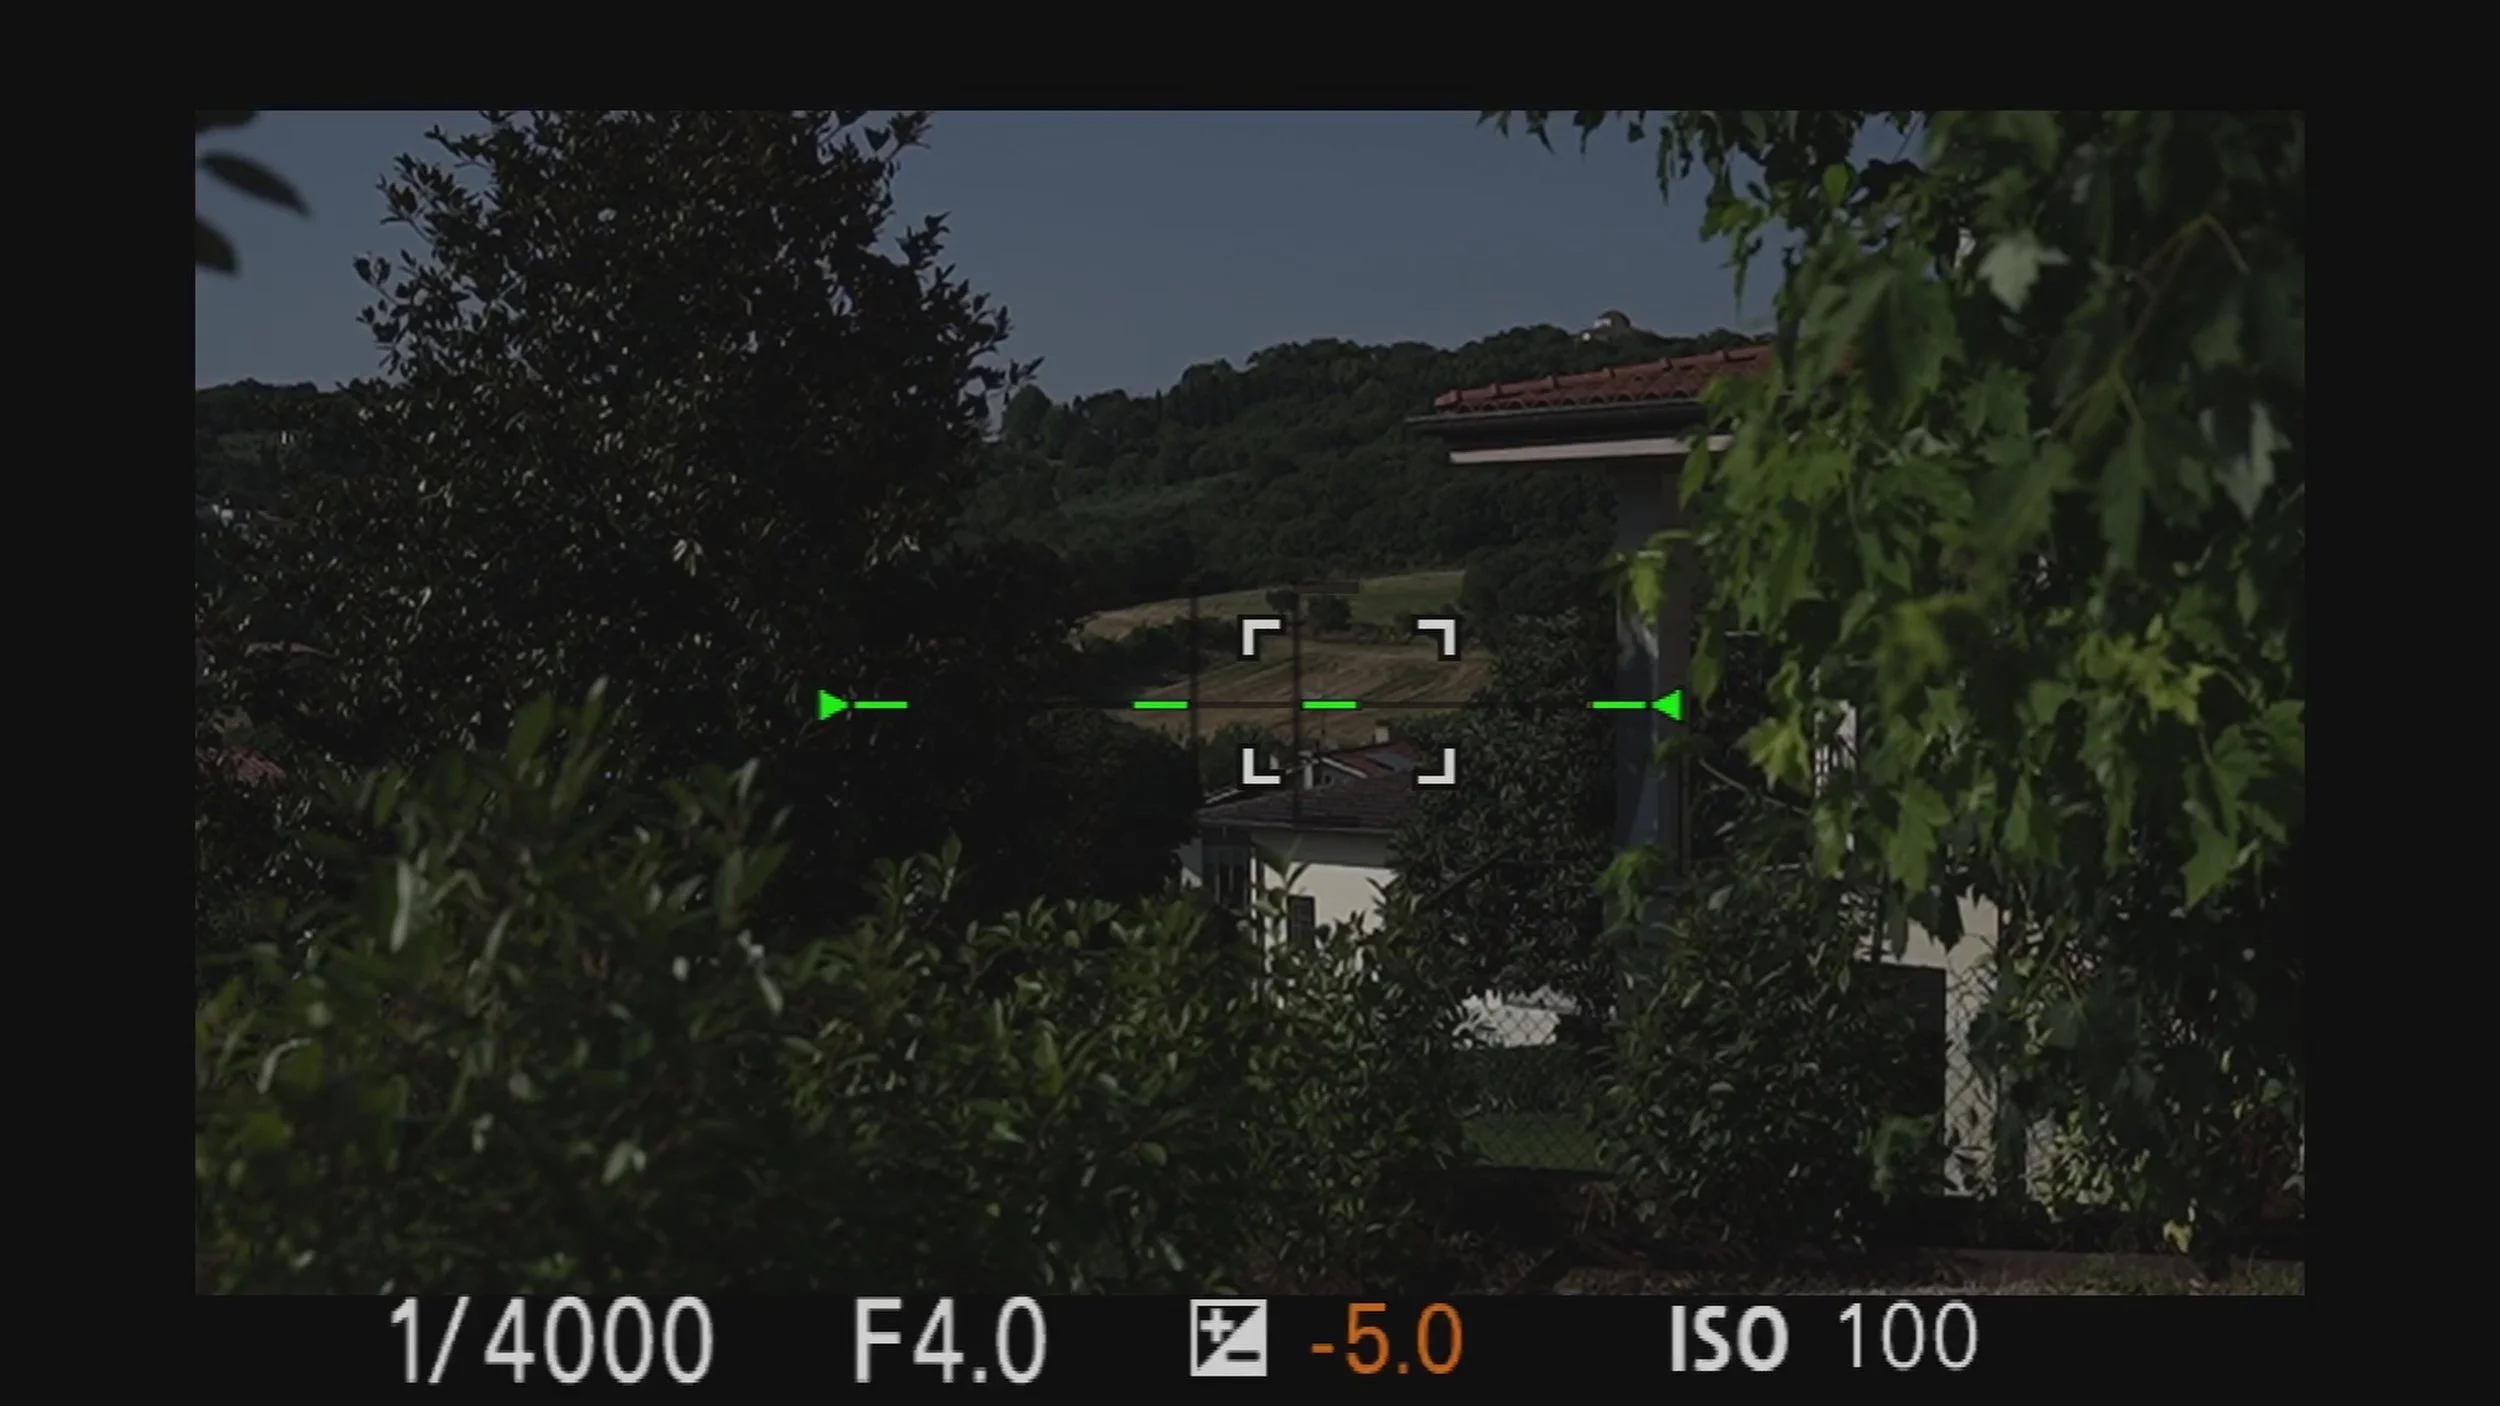
However, if you're including the sky in your composition and it's very bright, then you'll want to pay attention. If you shoot in an autoexposure mode or in manual exposure with auto ISO and you're using your exposure compensation dial, then often I find it's best to actually increase my exposure compensation by .3 to 7 of a stop. This means that I can slightly blow out my sky, but I can still recover it while I'm also making sure that I'm lifting the details in the shadows of crowds of people because we don't want to lose those details of the interesting subjects just so we have our sky.
Part 4: Get Creative with Highlight Priority Metering
On the flip side to trying to prioritize the detail in your subjects, you may actually find that the detail in your subjects isn't really worth saving. And this is where you might want to use highlight priority metering. This isn't available on all cameras, but many cameras do have this. And this actually uses the brightest part of your image to measure the exposure.

And what this can do is actually help you to create more interesting high contrast images where you would actually struggle trying to create a flat image from a very high contrast situation. Let's say we have a subject with a very hard shadow cutting across them. Rather than using evaluative metering to try and get an even exposure, when we're using highlight priority metering, we can actually focus on those highlights and then allow our shadows to fall off almost completely. And this actually helps you to create something a little bit more abstract in these high contrast scenarios.